There's one question that, despite my love for all things curly, keeps bouncing back to me like a stubborn curl that refuses to be tamed - "Monika, how can I straighten my curly hair?" Now, don't get me wrong, I absolutely adore curls, and I firmly believe they're a stunning gift from Mother Nature herself. But as they say, "Variety is the spice of life," so let's add some straight strands to your hair-spice collection!
Table of Contents
The importance of this topic is as clear as a freshly cleaned makeup brush. Many people with curly hair are looking to switch up their look now and then, or perhaps they just want to cut down their styling time without damaging their luscious locks. Whatever your reasons are, I've got you covered! In this comprehensive guide, I'll unveil the secrets to safely straightening your curly hair, how to keep it straight, and ways to maintain your straightened locks, while also discussing common mistakes to avoid. Buckle up, my curl-loving friends, it's time to dive straight into the world of sleek and straight hair!
Understanding Curly Hair
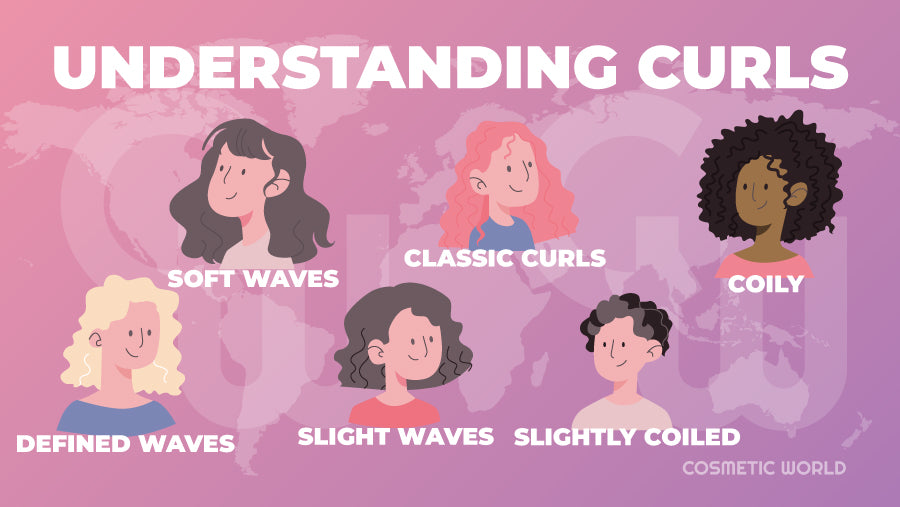
Ah, the curly hair universe - it's as vast and varied as the cosmos itself! From soft, beachy waves to tight, coily spirals, each curl type is a star, unique in its way. The first step in learning how to straighten curly hair is getting to know your particular curl pattern. Picture this: your hair is a wild, gorgeous forest, and understanding your curl pattern is your map through it. It helps you navigate the complex curl labyrinth, determining how your hair reacts to various elements, such as humidity, products, and indeed, heat.
You might ask why knowing your curl pattern is important in the hair straightening journey. The answer, my curly compatriots, lies in the very fabric of our hair strands. Each curl type has a unique structure and moisture requirement, and the method you choose to straighten your hair can either be a loving caress or a battle cry against these natural features. For instance, wavy hair might straighten easily with just a hair dryer, while coily hair might require the assistance of a flat iron. Moreover, knowing your curl type can help you determine the right heat setting and products to use, ensuring you don't end up with damaged strands but with sleek, shiny hair. Remember, knowledge is power, and when it comes to your curls, it's the power to protect, preserve, and perfectly straighten!
Preparation Steps for Straightening Curly Hair
Before we dive into the world of straight hair, let's prep our royal curls!
-
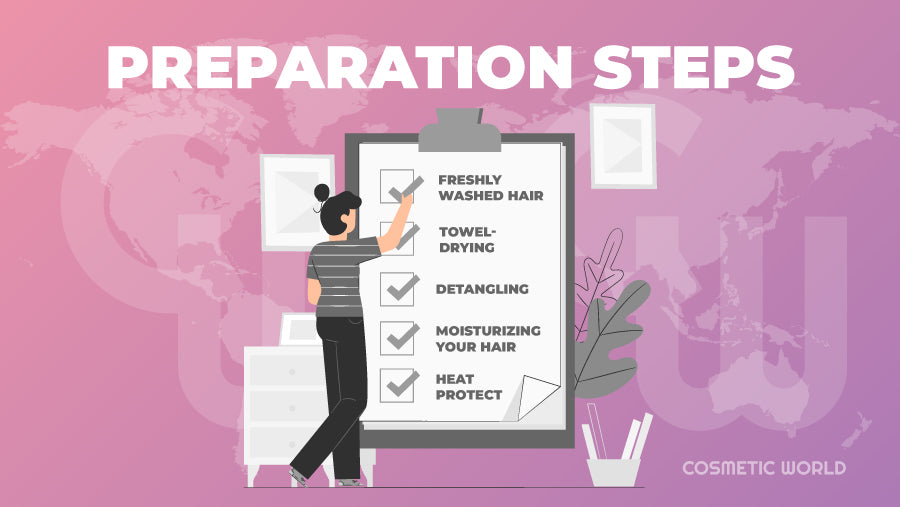
Freshly Washed Hair: The first rule of straightening curly hair? Always start with freshly washed hair. Using a smoothing shampoo will cleanse your hair while also prepping it for the straightening process. Your hair is like a canvas, my friends, and we can't paint a masterpiece on a dirty canvas, can we?
-
Towel-Drying: Ever tried towel-drying your hair and ended up looking like frizzy cotton candy? Let's avoid that disaster. Use a microfiber towel or an old t-shirt instead of a regular towel. Remember to pat, not rub, because we love our hair, don't we?
-
Detangling: This step may seem as fun as a trip to the dentist, but it's crucial, folks! Start by splitting your hair into sections. Use a wide-tooth comb to avoid hair loss and go slowly to avoid turning your beautiful curls into a nest.
-
Moisturizing Your Hair: Let’s bring on the leave-in conditioner! It helps to keep your hair tangle free and manageable before heat styling. Apply it generously to damp hair to seal in that moisture and say goodbye to frizz!
-
Heat Protectant: This step is like applying sunscreen before going to the beach. Except, the beach is your blow dryer, and your hair is... well, still your hair! Apply a good heat protectant to protect your hair from heat damage. After all, we're straightening, not baking!
How to Straighten Curly Hair Without Causing Damage
Now, let’s get down to business! There are two paths to straightville: the blow-drying method and the flat iron method.
The Blow-Drying Method

-
Preparing to Blow Dry: Once your hair is tangle-free and all prepped, grab your blowdryer (preferably with multiple heat settings) and a round bristle brush. Moreover, remember to always start blow-drying when your hair is damp, not wet. You don't want to fry your hair, folks!
-
Correct Direction of Blow Drying: Blow dry your hair from roots to the ends, in a downward motion. Remember, upward motions create volume (we don’t need that when straightening) and can cause frizz.
-
Importance of Blow Drying in Sections: Work in small sections for effective straightening. This ensures even heat distribution and prevents your hair from being exposed to too much heat.
💡 Pro tip: You can also use blowdry brushes. They are certainly quite effective at straightening curly hair.
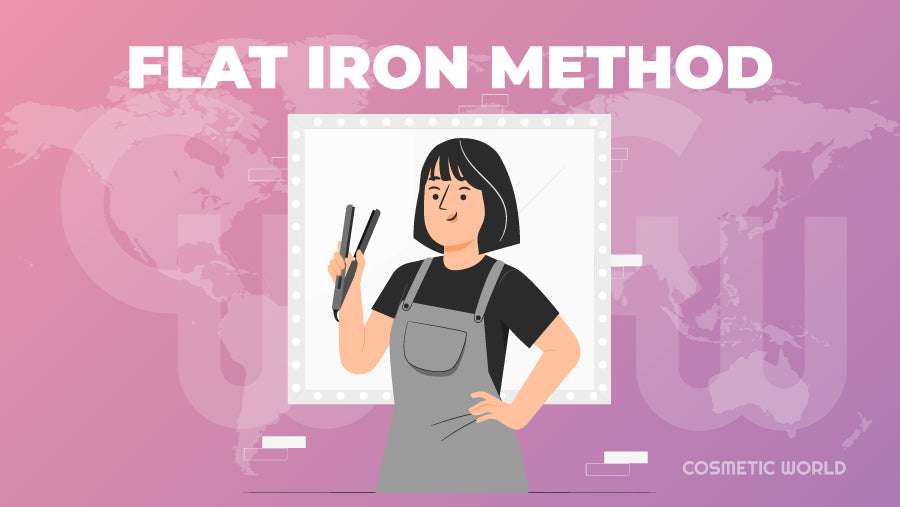
The Flat Iron Method
-
Choosing a Flat Iron: It's time to choose your weapon! Ceramic straighteners are a popular choice. Make sure to choose a flat iron with temperature control to protect your precious strands from heat damage.
-
Using Minimal Heat: Too much heat on your hair is like direct sun on skin without sunscreen – a big no-no! Always start with a low heat setting and adjust as necessary. Better safe than sorry, eh!
-
The Chase Method: The chase method is like having a personal bodyguard for your hair. Use a comb or brush to guide your flat iron along each section of hair. This helps evenly distribute the heat, keeping your hair strands happy and healthy.
Here is a short video from Mell (I love that gal... she's almost crazy as me)
Comparison between both methods
Blow-Drying |
Flat Iron |
|
| Process | Uses brush & dryer | Uses flat iron |
| Time | 15 - 45 minutes | 30 minutes - 1 hour+ |
| Result | Voluminous, smooth look | Perfectly straight |
| Heat Damage Risk | Lower | Higher |
| Equipment | Hair dryer & brush | Flat iron |
| Best For | Natural look, less time | Pin-straight hair, more time |
Post-Straightening Care
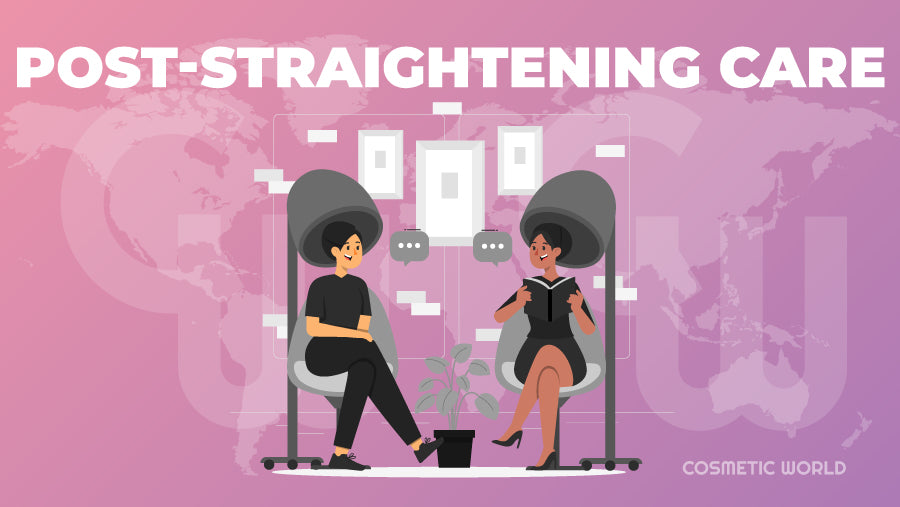
Now that you have your hair straight, how do you keep it that way?
-
Products to Limit Post-Straightening: After straightening, avoid using too many products that can weigh your hair down. Choose lightweight products that hydrate and maintain the straight style without causing buildup.
-
Sealing Your Style: Seal your perfectly straight strands with a lightweight hairspray to lock in your look and fight off any sneaky frizz that might try to crash your straight-hair party.
-
Preventing Reversion: Use a silk scarf to wrap your hair at night. This helps maintain the straightness while you sleep (beauty sleep has never been more true!).
-
Proper Sleep Practices: Investing in a silk pillowcase can make a world of difference. It reduces friction, which means less frizz and breakage.
Additional Hair Straightening Tips
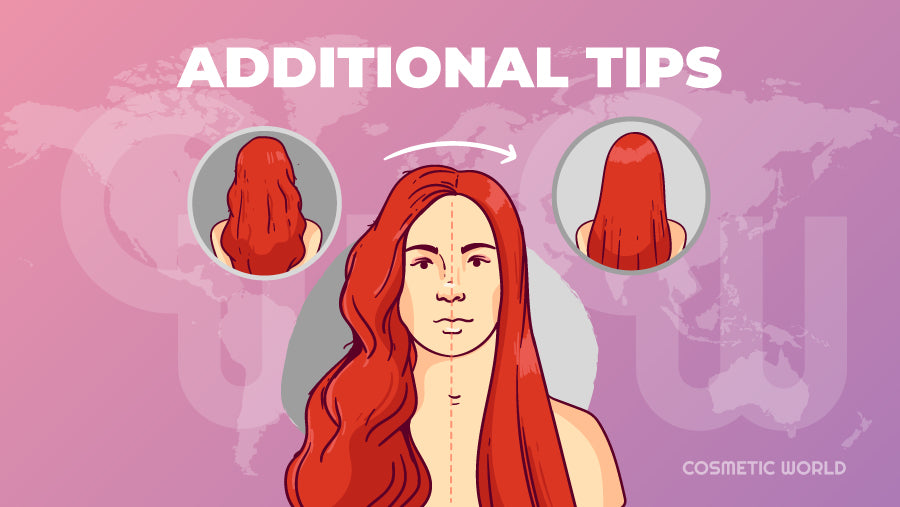
Now that we've embarked on this hair-straightening journey together, let's sprinkle in some more pro tips to make the ride even smoother!
Blow Dry Before Styling 🌬️
Blow-drying before straightening not only speeds up the process but also gives you more control over your hair. While blow drying, remember to direct the nozzle downwards along the hair shaft. This helps smooth the cuticles and makes the hair look shinier.
Invest in a Silk Pillowcase 🌙
Now, this might sound like some luxurious, unnecessary tip straight from a Hollywood starlet, but trust me, it's a game-changer! Silk pillowcases cause less friction on your hair as compared to cotton ones, helping to maintain your straight style overnight while reducing frizzy hair and breakage.
Hair Health Check-ups 🏥
Just like your health check-ups, your hair needs regular love and care. Use a nourishing deep conditioner once a week to repair any heat damage and keep your hair hydrated and healthy.
Less is More ⚖️
It's easy to get carried away and turn the heat styling tools up to the max. So, remember, too much heat can lead to dry hair and hair loss. The key is to use as little heat as possible. Start with a low heat setting, and only increase if necessary.
Know When to Stop ⏱️
Overworking your hair can lead to damage. If a section isn't becoming straight after a couple of passes with the flat iron, give it a break and move on to another section.
Patience is Key 🐢
Straightening your hair isn't a race. In fact, rushing might lead to missing sections and an uneven look. Take your time, work through each section carefully, and remember, good things come to those who wait!
Hydrate 💧
No, I'm not talking about your next glass of water (though that's important too)! Regularly hydrate your hair with oils like almond oil or coconut oil to nourish and protect it.
Straightening isn't Permanent 🔄
It's important to remember that you haven't lost your natural hair. They are just hidden for a while and will bounce back as soon as you wash your hair!
Alternative Methods for Straightening Curly Hair
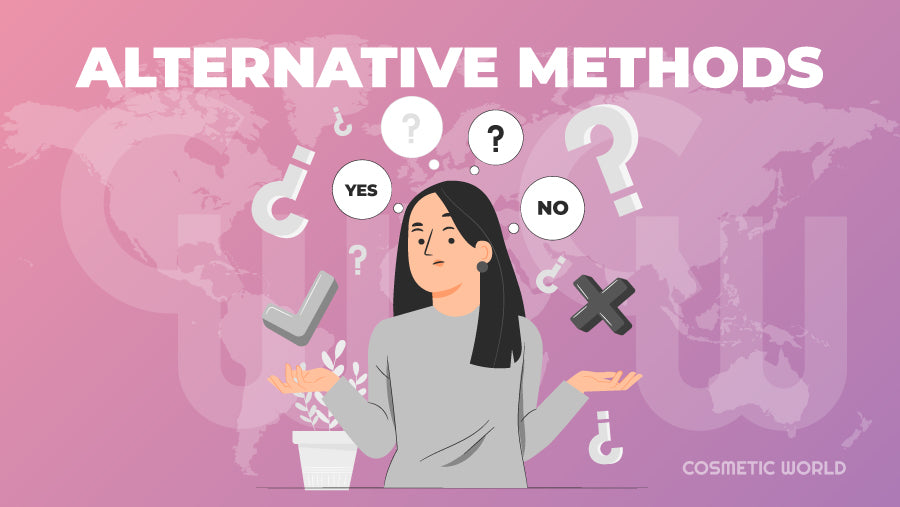
In this thrilling rollercoaster of hair straightening, let's hit the pause button and explore some exciting detours. I understand that not everyone's into the heat-styling hustle, so let's dive into some heat-free, alternative methods to straighten curly hair. These methods can be equally effective in taming those curls and waves without causing any heat damage.
Hair Wrapping 🎁
This method involves wrapping your damp hair tightly around your head using a brush and securing it with large bobby pins. Once your hair is all wrapped up (pun intended!), cover it with a silk scarf to reduce friction and let your hair air dry overnight. The result? Wake up to smoother, straighter hair!
Roller Sets 🎠
A method as classic as red lipstick, roller sets involve rolling sections of your wet hair onto large rollers and then allowing them to dry. As your hair dries, it takes on the shape of the rollers, resulting in straighter locks. This method requires a bit more effort, but hey, beauty is passion, right?
Banding 🔗
Banding involves tying multiple hair ties or bands along the length of your damp hair. As the hair dries, it stretches out, reducing the appearance of curls and waves. Remember to use seamless bands to prevent hair breakage.
Keratin Treatments 💅
Now, this one is better to be done by a professional hair stylist. Keratin treatments fill in the porosity of your hair, helping to make it straighter, shinier, and less frizzy. Although they do involve some heat, the results are semi-permanent and can last for several months. It will cost you a little bit more (I have an article about the cost of keratin treatment), but it's worth the money.
Common Mistakes To Avoid While Straightening Your Curly Hair
Alright, my curly comrades, as we've sailed through the do's of straightening your hair, let's anchor down and explore some don'ts. Here's a list of common pitfalls to avoid on your straight hair journey:
-
Skipping Heat Protectant: Picture this: You're stepping out into the sun without sunscreen. Yikes, right? That's what you're doing to your hair when you skip the heat protectant. It shields your hair from heat damage and should be your trusty companion whenever you're heat styling.
-
Not Sectioning Your Hair: Imagine painting a canvas with your eyes closed. You'd probably miss a spot, right? The same goes for your hair. Sectioning allows for even heat distribution and ensures you don't miss any spots.
-
Straightening Wet Hair: Tempting as it may be to save time, never straighten wet hair! The heat from your flat iron can cause the water in your hair to boil, leading to bubble hair - a condition that weakens and damages your hair structure. Make sure your hair is completely dry before reaching for that straightener.
-
Using Too Much Heat: Just because your flat iron can reach scorching temperatures doesn't mean you should crank it up to the max. Moreover, too much heat can lead to heat damage, resulting in dry, brittle hair. Use the lowest effective setting for your hair type.
-
Skipping Regular Trims: Even with the best protection, some heat damage may occur, leading to split ends. Regular trims help keep your hair healthy and prevent further damage from traveling up the hair shaft.
-
Overusing Dry Shampoo: While dry shampoo can be a lifesaver in maintaining your straight style, overusing it can lead to product buildup, which can dry out your hair and scalp. Use it sparingly, and remember to wash your hair regularly.
Frequently Asked Questions
Can curly hair become straight naturally?
Short answer: 👎 No
I'm going to be upfront with you, my curly comrades: the structure of our hair, whether straight, wavy, or curly, is mainly determined by genetics. So, there's no natural method to permanently straighten your curly hair. However, you can opt for certain techniques like wrapping, banding, or even adopting a different hair care regimen that might help your curls to loosen up a bit. However, don't forget to embrace and enjoy your natural curls—they're your unique signature style!
How often can you straighten your curly hair without damaging it?
Short answer: 🔁💇♀️🔥 It depends on your hair's condition, strength, and the amount of heat you're using
Ah, the age-old question! The answer to this one isn't quite set in stone, as it greatly depends on your hair's condition, strength, and the amount of heat you're using. However, as a general rule, try to limit heat styling to once a week. If your hair is particularly fragile or damaged, consider giving it a longer break between straightening sessions. Remember to always use a heat protectant when straightening!
Is it better to straighten curly hair wet or dry?
Short answer: 🌬️🔥👍 Dry
Dry, dry, dry! Straightening wet hair is a huge no-no. When hair is wet, it's at its most fragile state, and applying heat can cause severe damage, including breakage and split ends. Always ensure your hair is completely dry before you start straightening.
How long does it take to straighten naturally curly hair?
Short answer: ⏱️ 20-60 minutes
This can vary widely depending on the thickness, length, and curl pattern of your hair. It can take anywhere from 20 minutes to over an hour. The key here is patience—rushing the process can lead to missed spots or, worse, heat damage.
How can I straighten my hair without damaging my curls?
Short answer: 🛡️🔥🔧💇♀️💦 Use a heat protectant, adjust the heat settings, do it on dry hair and condition regularly
Firstly, always use a heat protectant before applying heat to your hair. Opt for a curly hair straightener with adjustable heat settings and use the lowest effective setting for your hair type. Avoid straightening your hair when it's wet, and give your hair regular breaks from heat styling. Deep condition your hair regularly to nourish it and repair any potential heat damage.
Is it OK to straighten naturally curly hair?
Short answer: 👍 Yes
Absolutely, it's okay to straighten your naturally curly hair, provided it's done safely and correctly. Make sure to prep your hair correctly, use the right tools, and give your hair the TLC it needs afterward. Remember, the goal is to enhance your beauty without causing damage.
Key Takeaways
So there you have it, my lovely folks – your ultimate guide on how to straighten naturally curly hair without damaging it. Always remember, it's not about the destination, it's about the journey - especially when that journey involves your hair!
- Understand your curly hair type and pattern before straightening.
- Prep your hair properly: use a smoothing shampoo, conditioner, and a heat protectant.
- Choose your straightening tool wisely: flat iron or blow-dryer.
- Don't rush the process, work with small sections, and avoid too much heat.
- Explore heat-free alternatives and treat your hair right post-straightening.
- Remember, straightening is not permanent; your natural curls will always bounce back!
Now, go forth and conquer those curls. You got this!